Stripe Connector v1.0.0
23 Apr 2018Community Connector
The Anypoint Connector for Stripe provides the ability to perform most common tasks against the Stripe API in an easy, consistent way. It allows you to easily accept payments, create charges, manage accounts using Stripe Connect, manage subscriptions and Invoices, and perform refunds.
Introduction
The Stripe Connector facilitates connections between Mule integration applications and Stripe via its Java SDK. It is a Premium Connector, meaning that you can deploy it into production if you have an Mule Enterprise License or a CloudHub account, as well as a license to use the Connector from WhiteSky Labs, Pty Ltd.
The Stripe Connector provides access to over 60 APIs in Stripe. It allows you to perform a large set of actions including managing Accounts, Subscriptions, Balances, Coupons, Charges, Cards and all forms of payments and payment management.
Assumptions
This document assumes that you are familiar with Mule, Anypoint™ Connectors, and the Anypoint Studio interface. To increase your familiarity with Studio, consider completing one or more Anypoint Studio Tutorials. Further, this page assumes that you have a basic understanding of Mule flows and Mule Global Elements.
This document describes implementation examples within the context of Anypoint Studio, Mule ESB’s graphical user interface, and, in parallel, includes configuration details for doing the same in the XML Editor.
Requirements
There are no hardware, software or technical requirements in addition to those required to run the AnyPoint Platform.
You will require a valid CloudHub Subcription or Mule ESB Enterprise License in order to use the Connector, as well as a valid agreement with WhiteSky Labs to use the Stripe Connector.
Dependencies
The Stripe Connector requires AnyPoint Studio 5.1.1 or greater with Mule EE ESB Runtime 3.6.0 or newer.
Versions
The Connector was developed and tested using ESB 3.6.0 and AnyPoint Studio 5.1.1, using the Stripe SDK for Java version 1.27.0.
Consumers
The Connector requires the user to have a valid Stripe account.
Compatibility Matrix
| Application/Service | Version |
|---|---|
| Mule Runtime | Mule 3.6.0 and above |
| Stripe API Version | 2015-03-24 |
| Stripe SDK for Java | v1.27.1 |
Installing and Configuring
You can “test drive” the Stripe Connector by installing it in Anypoint Studio. Follow the instructions to download and launch Anypoint Studio, then follow the steps below to install the Stripe Connector.
However, to use the Stripe Connector in a production environment, you must have either:
- an Enterprise license to use Mule
- a CloudHub Starter, Professional, or Enterprise account
- Contact the MuleSoft Sales Team to obtain either of these.
Installing
To install the Stripe Connector:
- Under the Help menu in Anypoint Studio, select Install New Software.
- Next to the Work with: field of the Install wizard, choose the “Add:” button. Choose “Archive” and navigate to the installation zip file provided to you by WhiteSky Labs. Finally, give the site a name (e.g. “Stripe Connector Installer”) and choose OK.
- In the table below the Filter field (see image below), click to expand the Standard folder, then select Mule Stripe Connector. Click Next.
- Review the details, then click Next.
- Click to accept the terms and conditions, then click Finish.
-
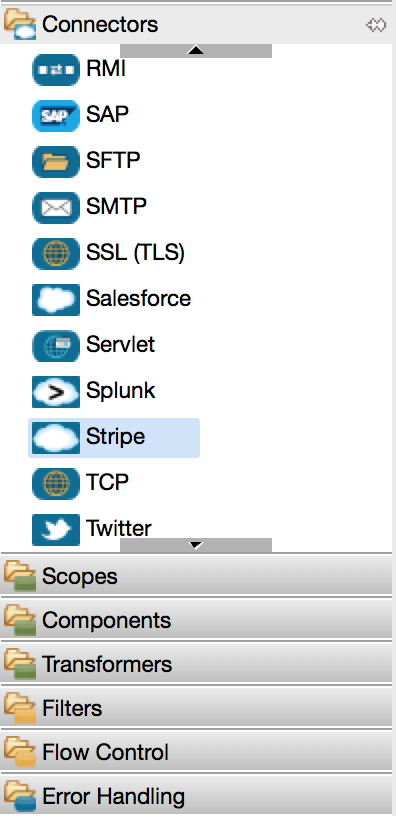
Click Restart Now to complete the installation. Once you have installed the connector and restarted Studio you will see the Stripe Connector available in the palette, under the Connectors category.
Configuring
To use the Stripe Connector, you must configure two things:
- an instance of the connector in your application
- a global Stripe connector configuration
To create a global Stripe connector configuration, follow these steps:
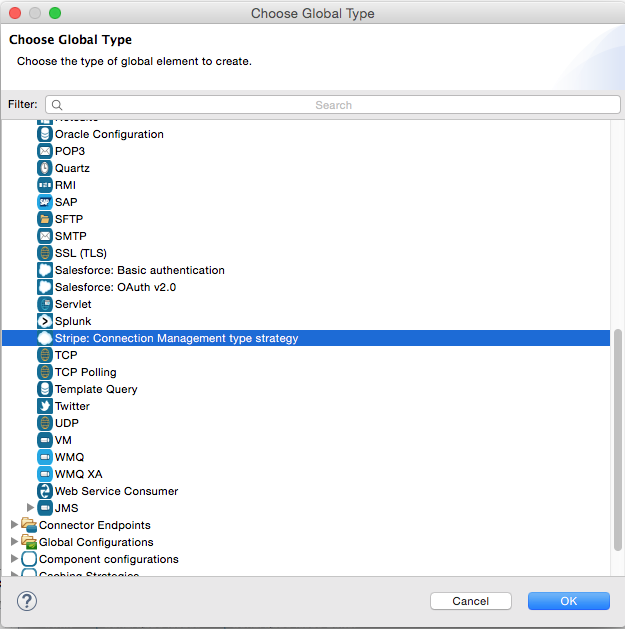
- Click the Global Elements tab at the base of the canvas, then click Create.
- Use the filter to locate, then select Stripe, then click OK.
-
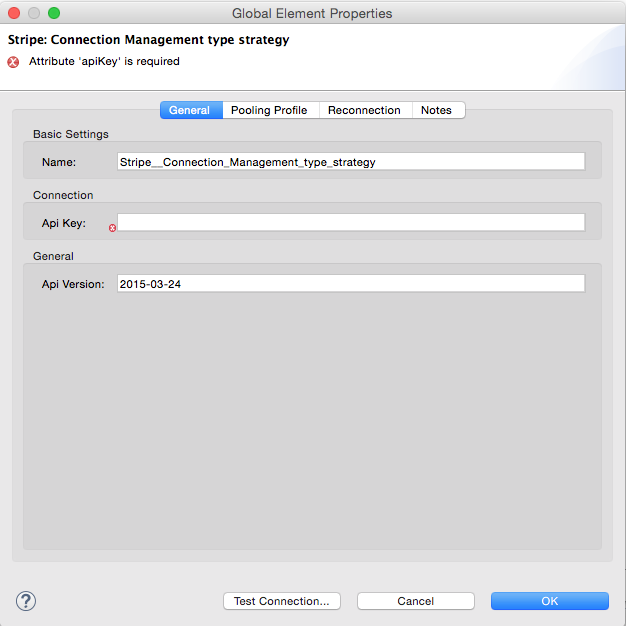
Configure the global connector’s parameters according to the table below.
Parameter Description Example Name Name for the global element Splunk ApiVersion (Optional) Stripe API Version 2015-03-24 ApiKey Your Stripe API Key sk_abc123 - Access the Pooling Profile tab to configure any settings relevant to managing multiple connections via a connection pool.
- Access the Reconnection tab to configure any settings relevant to reconnection strategies that Mule should execute if it loses its connection to Stripe.
- Click Test Connection to confirm that the parameters of your global Stripe connector are accurate, and that Mule is able to successfully connect to your instance of Stripe.
- Click OK to save the global connector configurations.
- Return to the Message Flow tab in Studio. Drag the Stripe Connector onto the canvas, then select it to open the Properties Editor console.
-
Configure the connector’s parameters according to the table below.
Field Description Default Display Name A human-readable name for the Connector operation Retrieve Customer Config Reference The global configuration for the Connector to connect to Stripe Stripe__Connection_Management_Strategy Operation The operation to perform. Retrieve Customer id A parameter for the operation chosen. #[payload] - Click blank space on the canvas to save your Stripe connector configurations.
Example Use Case
It’s time to build the flows which creates a Customer, retrieves them, and deletes the Customer.
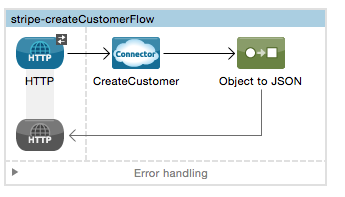
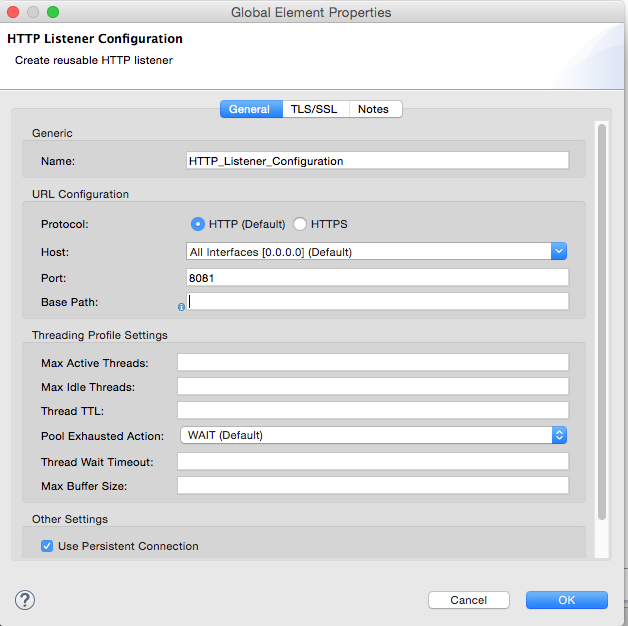
Create Customer flow: This is the flow which creates a Customer in Stripe. Start by dragging an HTTP endpoint from the palette onto the flow. Create a new Connector Configuration for this endpoint and accept the defaults.
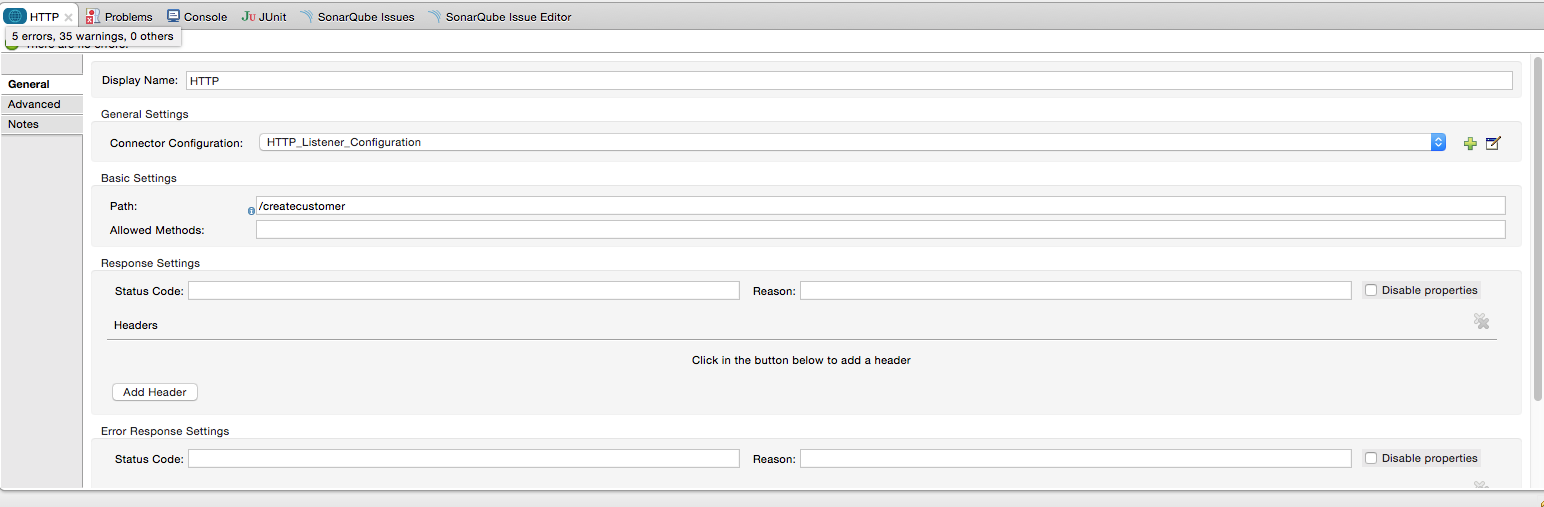
Now add a path to your HTTP receiver: “/createcustomer”. This is the URL you will call to start the flow.
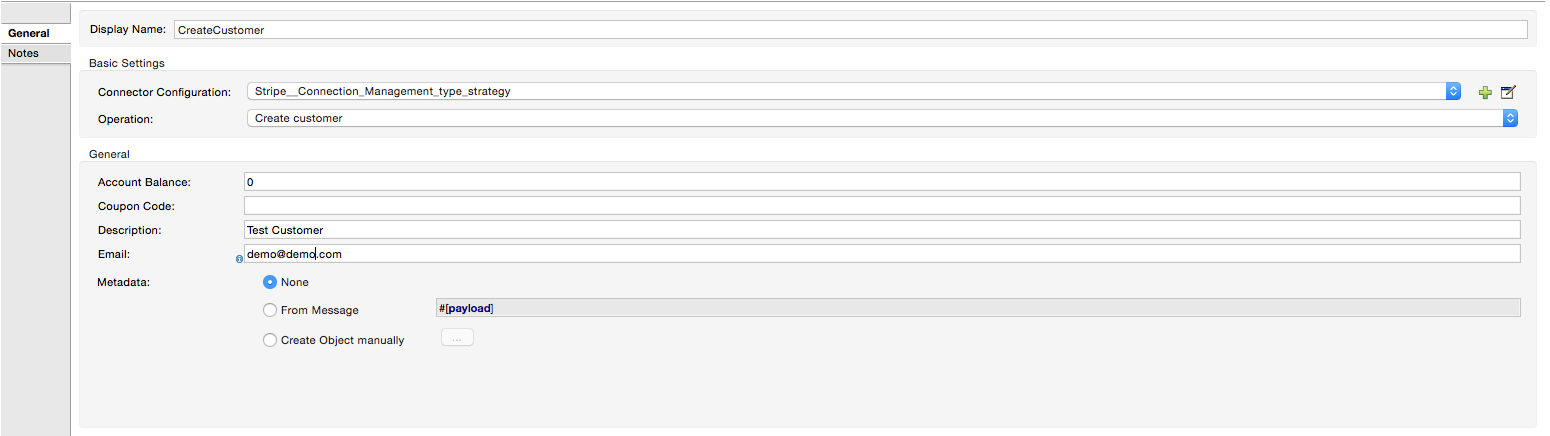
Then drag a Stripe Connector onto the flow after the HTTP endpoint. In the configuration window for the Stripe Connector, select the previously created Stripe config from the Config Reference dropdown. Set the Operation to “Create Customer”, and provide an email and description. Add an “Object to JSON” transformer at the end to make sure the response is readable by a human. Click okay.
This completes the Create Customer flow.
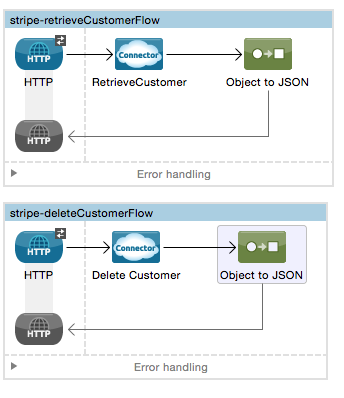
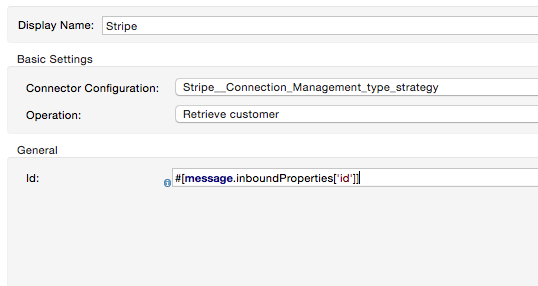
Retrieve Customer flow: This is the flow which retrieves the Customer. Start by dragging an HTTP endpoint from the palette onto the workspace (not onto a flow), creating a new flow. Use the existing HTTP configuration. Configure the Path to “/retrieveCustomer”. This is the URL you will call to start the flow. Then drag a Stripe Connector onto the flow after the HTTP endpoint. In the configuration window for the Stripe Connector, select the previously created Stripe config from the Config Reference dropdown. Set the Operation to “Retrieve Customer”, and set the id field to “#[message.inboundProperties.’http.query.params’.id]”. Add an “Object to JSON” transformer at the end to make sure the response is readable by a human. Click OK.
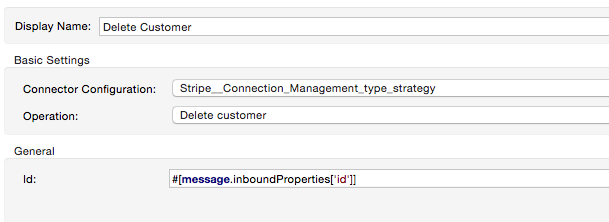
Delete Customer Flow: This is the flow which removes the customer you created. Start by dragging an HTTP endpoint from the palette onto the workspace (not onto a flow), creating a new flow. Use the existing HTTP configuration. Configure the Path to “/deleteCustomer”. This is the URL you will call to start the flow. Then drag a Stripe Connector onto the flow after the HTTP endpoint. In the configuration window for the Stripe Connector, select the previously created Stripe config from the Config Reference dropdown. Set the Operation to “Delete Customer”, and set the id field to “#[message.inboundProperties.’http.query.params’.id]”. Add an “Object to JSON” transformer at the end to make sure the response is readable by a human. Click OK.
Flow XML
The final flow XML should look like this.
<?xml version="1.0" encoding="UTF-8"?>
Testing the app
Now it’s time to test the app. Run the app in Anypoint Studio and open a browser window. Visit http://localhost:8081/createcustomer. This will create a Customer in Stripe and return the ID in the JSON.
Now visit [http://localhost:8081/retrievecustomer?id=
Updating From an Older Version
There is currently no procedure for upgrading as only one version of the Connector exists.
Using This Connector
Best Practices
- It is important to understand how the Stripe API works in order to effectively use the Connector, especially the relationships between accounts, application fees and Stripe Connect. Review the Stripe API documentation to learn more.
Go Further
- Release Notes
- Stripe SDK for Java Documentation
- API Documentation is available at http://whitesky-labs.github.io/stripe-connector/apidocs
- Read more about http://www.mulesoft.org/documentation/display/current/Anypoint+Connectors